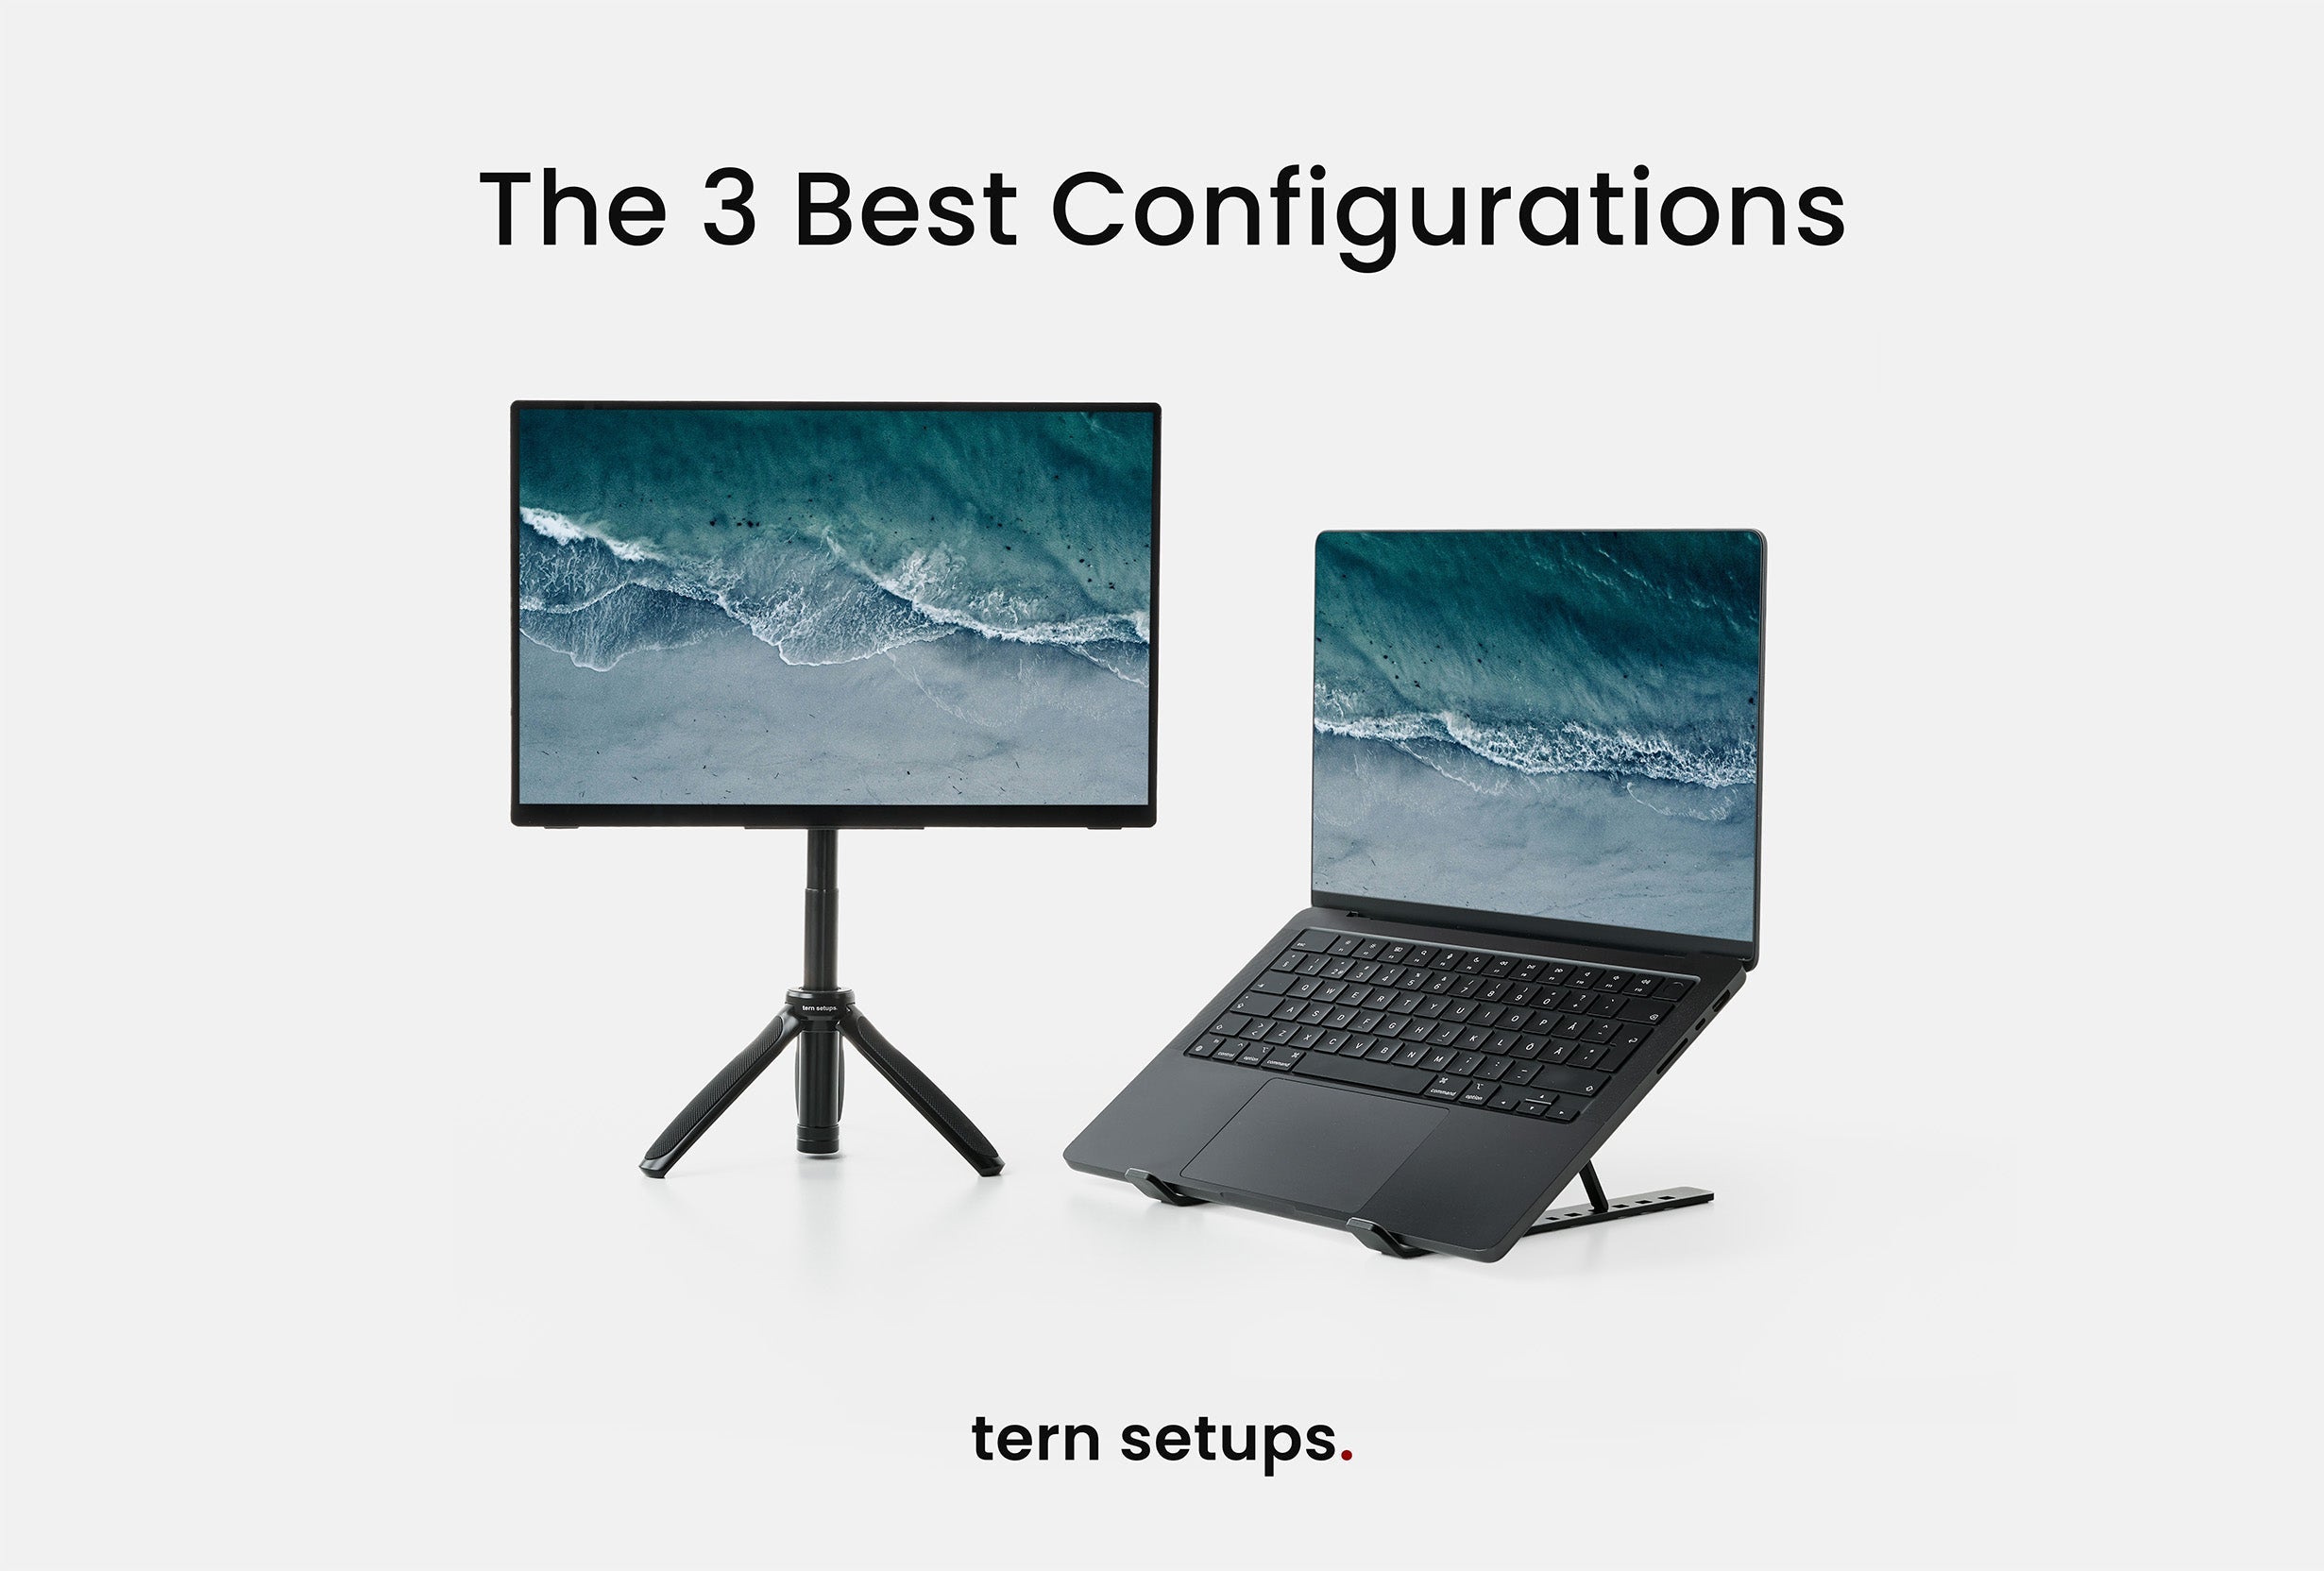
When working remotely, productivity and comfort go hand in hand. One of the simplest ways to achieve both is by incorporating a portable monitor into your setup. Whether you’re a programmer, designer, or a travelling professional, an extra screen can make all the difference. Below, we’ll explore the three most popular portable monitor configurations professionals use worldwide.
1. The Classic Office Setup
Why It’s Great
- Familiar layout: Mimics the traditional office environment where two screens sit side by side.
- Easy multitasking: Switch between applications seamlessly.
- Comfortable ergonomics: A laptop stand elevates the laptop screen, reducing neck and eye strain.
What You Need
- Portable Monitor: See our portable monitor guide for choosing the right monitor.
- Laptop Stand: Elevates your laptop to the same level as the portable monitor, helping maintain good posture.
- External Keyboard and Mouse: A keyboard and a mouse provide better ergonomics and speed up your workflow.
In this configuration, the portable monitor is placed directly beside your laptop screen at the same height, creating a smooth, expansive display. Perfect for tasks like spreadsheet management, data analysis, and any other work that benefits from a larger horizontal view.

2. The Vertical Portable Monitor
Why It’s Great
- Ideal for coding: View more lines of code at once and scroll less.
- Creative benefits: Photographers and designers can see longer image previews or vertical compositions in detail.
- Space-efficient: A vertical monitor has a smaller footprint on your desk.
How It Works
- Rotate the portable monitor to a vertical (portrait) orientation.
- Align it next to your laptop or slightly behind, depending on your desk space.
- Use a laptop stand, keyboard, and mouse, as in the classic office setup.
This setup is increasingly popular among developers who want to streamline their coding process. However, it’s also a hidden gem for creative professionals seeking an efficient way to view long artboards, photos, or documents.

3. The Stacked Monitor Setup (Most Popular)
Why It’s Great
- Space-saving: Placing the portable monitor on top of your laptop saves desk space.
- Ultra-portable: Easy to pack and set up, making it a favourite among travelling professionals.
- Built-in keyboard usage: Use your laptop’s keyboard directly, so there’s no need for an additional external keyboard (though you can still use one if you prefer).
How to Set It Up
- Position the portable monitor above the laptop screen using a stand or an adjustable mount designed for portable monitors.
- Tilt or angle the monitor to ensure comfortable viewing.
- Keep your laptop in a natural typing position to avoid wrist strain.
Many remote workers love this configuration for its minimal footprint and simplicity. It’s convenient if you work in tight spaces like coffee shops or co-working areas.

Which Setup Is Right for You?
Your perfect configuration depends on your work style and space constraints:
- Choose the Classic Office Setup if you want a familiar workstation feel and need a sizeable horizontal view for data-heavy tasks.
- Go Vertical if you’re coding, editing images, or working with vertical content and want to maximize vertical screen space.
- Stack It Up if you’re constantly on the move and prioritize portability or have limited desk space.
Final Thoughts
A portable monitor is a game-changer for anyone working remotely. It’s a simple addition that can transform your workflow from boosting productivity to improving ergonomics. Give each of these three configurations a try to find the one that best fits your needs—and don’t forget to share your experience in the comments below!


Share:
Best Portable Monitor for Mac Mini
Best Portable Monitor for Laptop: What to Look For in 2025